
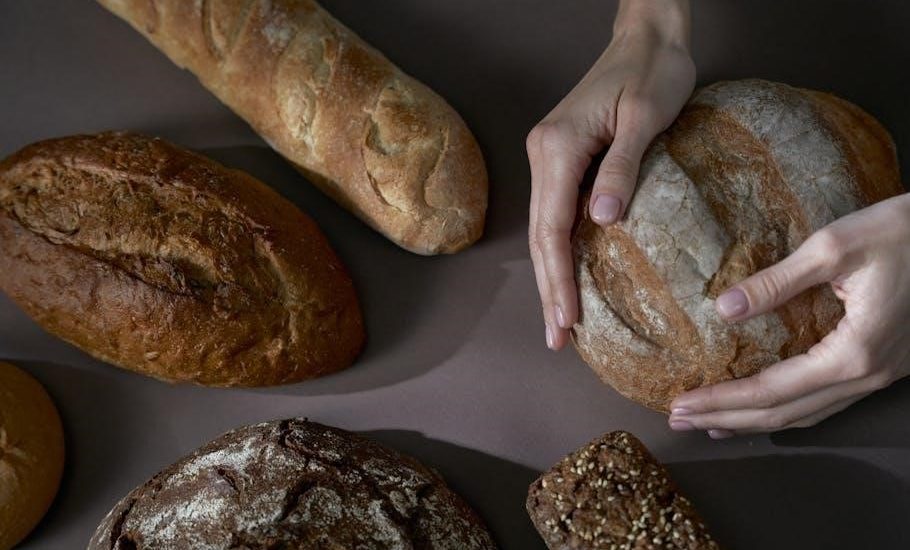
Understanding Your West Bend Bread Maker
West Bend bread makers offer diverse models, with readily available instruction manuals online via the Internet Archive and ManualsLib.
These resources cover various models like 41073, 41040, and 41300B, providing essential safety guidelines and operational instructions for optimal baking.
Model Identification
Identifying your West Bend bread maker model is crucial for accessing the correct instructions and recipes. Numerous models exist, including the 41073, 41065Z, 41040, and 41300B Cooks Essentials version.
The model number is typically located on a sticker affixed to the bottom or back of the appliance. Referencing this number when searching online resources like the Internet Archive and ManualsLib ensures you download the appropriate manual.
Correct identification guarantees safe operation and optimal baking results, as features and settings can vary between models.
Key Components & Parts
West Bend bread makers consist of several key components. The bread pan, removable for cleaning, holds the ingredients. A kneading paddle mixes and kneads the dough, sometimes becoming stuck post-baking.
The machine features a heating element for baking and a control panel with pre-programmed settings. Essential parts include the lid, housing, and power cord. Understanding each component’s function, as detailed in the instruction manual from resources like ManualsLib, is vital for proper use and maintenance.
Getting Started: Initial Setup
West Bend manuals emphasize unpacking, inspecting for damage, and cleaning the bread pan before first use. Registering your product at www.westbend.com is also recommended.
Unpacking and Inspection
Carefully remove your new West Bend bread maker from its packaging, retaining the box and packing materials for potential future transport or storage. Thoroughly inspect the appliance and all included components – the bread pan, kneading paddle, and any accompanying accessories – for any signs of damage that may have occurred during shipping.
Check for dents, scratches, or broken parts. If any damage is detected, immediately contact the retailer or West Bend customer support. Ensure all instruction manuals and recipe booklets are present; A complete inventory ensures a smooth baking experience from the start.
Cleaning Before First Use
Before your inaugural bake, meticulously clean all parts that will come into contact with food. Remove the bread pan and kneading paddle. Wash them in warm, soapy water, ensuring all manufacturing residues are eliminated. Gently wipe down the interior of the bread maker with a damp cloth – avoid immersing the main unit in water.
Thoroughly dry all components before reassembling. This initial cleaning process guarantees a hygienic baking environment and prevents any unwanted flavors from affecting your first loaf. Proper preparation is key to delicious results!
Powering On and Basic Functions
Plug your West Bend bread maker into a grounded electrical outlet. The power button initiates operation, typically illuminating a display panel. Basic functions include cycle selection – utilizing pre-programmed settings or custom options. The start/stop button controls the baking process, allowing you to pause or cancel a cycle as needed.
Many models feature crust control settings, adjusting the final crust’s darkness. Familiarize yourself with these controls for personalized baking. Refer to your specific model’s manual for detailed function explanations.
Using Pre-Programmed Settings
West Bend bread makers offer convenient pre-programmed cycles for basic, whole wheat, and French bread. Simply select the desired cycle and press start for automated baking!
Basic Bread Cycle
Utilizing the basic bread cycle on your West Bend bread maker is straightforward. Begin by ensuring all ingredients are accurately measured and added to the bread pan, following a trusted recipe. Select the “Basic” cycle on your machine – this is often the default setting.
The cycle typically includes kneading, rising, and baking phases, all automated for convenience. Refer to your specific model’s manual for precise cycle times, as they can vary.
Remember to monitor the initial kneading stage to ensure proper dough consistency. For optimal results, use ingredients at room temperature and avoid opening the lid during baking to maintain consistent heat.
Whole Wheat Cycle
The Whole Wheat cycle on your West Bend bread maker is designed for denser loaves, accommodating the unique properties of whole wheat flour. This cycle typically features a longer kneading and rising time to fully develop gluten.
When using this setting, it’s crucial to use a recipe specifically formulated for whole wheat bread, as the flour absorbs more liquid.
Adding a tablespoon of vital wheat gluten can improve the loaf’s rise and texture. Always consult your model’s manual for specific cycle durations and recommended ingredient ratios for best results.
French Bread Cycle
The French Bread cycle on your West Bend bread maker aims to create a loaf with a crispier crust and a more open crumb structure, characteristic of traditional French bread. This cycle often incorporates a specific kneading pattern and temperature profile.
Typically, it involves a shorter kneading time and a longer rise.
Using bread flour with a higher protein content is recommended for optimal results. Some models may suggest adding a small amount of diastatic malt powder to enhance crust color and flavor. Refer to your manual for precise settings and recipe guidelines.
Customizing Your Bread
West Bend bread makers allow ingredient adjustments for personalized loaves. Experiment with flour types, liquids, and additions like fruits or nuts to create unique recipes!
Adjusting Ingredient Amounts
West Bend bread makers offer flexibility, but precise measurements are crucial for successful loaves. Carefully review your recipe and understand how ingredient ratios impact the final product.
Generally, slight adjustments to liquid can correct dough consistency – add a teaspoon at a time for drier dough, or reduce for wetter dough. Flour adjustments should be minimal, as excessive flour leads to dense bread.
Remember that different flour types absorb liquids differently, so consider this when substituting ingredients. Always refer to your West Bend manual for specific guidance related to your model.
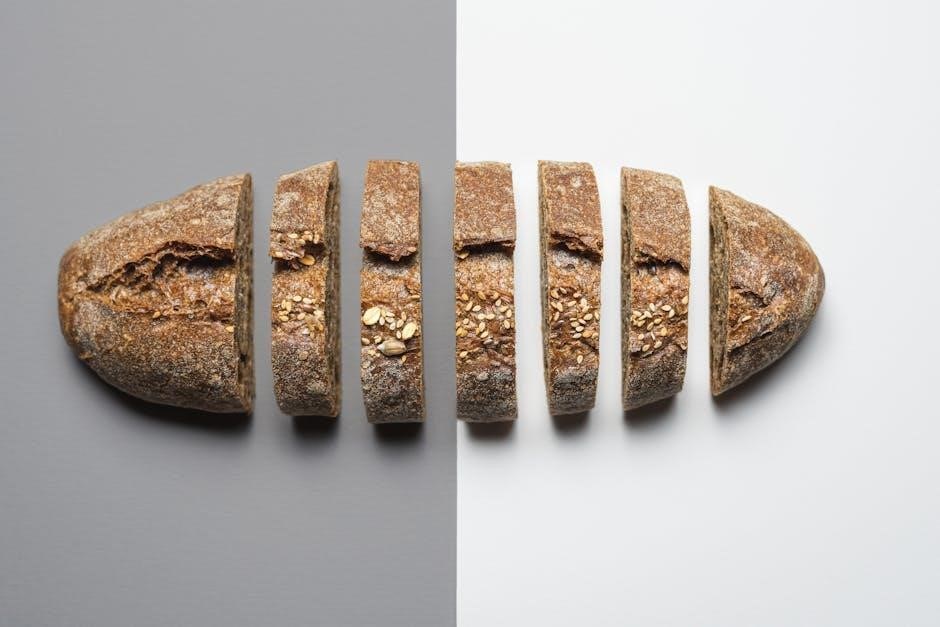
Adding Fruits, Nuts, and Seeds
West Bend bread makers allow for delightful additions! Typically, add fruits, nuts, and seeds during the second kneading cycle, signaled by an audible beep on many models.
This ensures even distribution without hindering initial dough development. Dried fruits should be chopped and may benefit from a brief soak in warm water to prevent dryness.
Nuts and seeds can be added directly. Avoid overloading the machine; a general guideline is to limit additions to approximately one cup for a standard loaf size. Consult your manual for specific recommendations.
Gluten-Free Baking
West Bend bread makers can tackle gluten-free baking, but require adjustments. Utilize a dedicated gluten-free bread mix, as gluten-free flours behave differently than wheat flour.
Often, a gluten-free cycle or a modified basic cycle is recommended; consult your manual for the best setting. You may need to add a binding agent like xanthan gum or psyllium husk, as specified in your mix’s instructions.
Monitor the dough closely, as gluten-free doughs tend to be wetter and may require less liquid.
Dough Making Function
West Bend bread makers feature a dough cycle for preparing doughs for baking elsewhere. This function handles kneading, and some models offer proofing options.
Using the Dough Cycle
West Bend bread makers simplify dough preparation with a dedicated dough cycle. Begin by adding ingredients directly into the bread pan, ensuring liquids are added first, followed by dry ingredients, and finally yeast. Select the ‘Dough’ setting on your machine; the cycle will automatically knead the dough to the appropriate consistency.
Once kneading is complete, the machine will enter a proofing phase, allowing the dough to rise within the bread maker. After the cycle finishes, carefully remove the dough from the pan. It’s now ready for shaping, baking in a conventional oven, or other desired uses, like rolls or pizza!
Kneading Only
West Bend bread makers offer a ‘Knead Only’ function, ideal for bakers who prefer to shape and bake their dough using traditional methods. Add ingredients to the bread pan as you would for a standard bread cycle – liquids first, then dry, and finally yeast.
Select the ‘Knead Only’ setting. The machine will thoroughly knead the dough, developing gluten for optimal texture. Once completed, remove the dough and proceed with shaping, proofing, and baking in a conventional oven. This provides full control over the final baking process!
Proofing Dough
West Bend bread makers facilitate dough proofing, a crucial step for achieving light and airy bread. After the kneading cycle (or using a pre-made dough), select the ‘Proof’ setting. This creates a warm, humid environment, encouraging yeast activity and dough expansion.
Ensure ingredients are properly combined before initiating proofing. Monitor the dough’s rise; it should approximately double in size. Once proofed, gently remove the dough for shaping and baking in a conventional oven, or utilize another bread maker cycle.
Troubleshooting Common Issues
West Bend bread maker problems like rising failures, crust issues, or paddle sticking are addressable; Consult manuals and online resources for solutions and guidance.
Bread Not Rising
If your bread isn’t rising in your West Bend bread maker, several factors could be at play. First, ensure you’re using fresh, active yeast and that it hasn’t expired.
Incorrect ingredient measurements, particularly too much salt, can inhibit yeast activity. Also, verify the water temperature is within the recommended range – too hot or cold can kill the yeast.
Ambient temperature also matters; a cold kitchen can slow down the rising process. Finally, double-check that you’ve selected the correct cycle for your bread type, as some cycles have shorter rise times.
Crust Too Dark/Light
Adjusting crust color on your West Bend bread maker is often cycle-dependent. If the crust is too dark, reduce the cycle time or select a lighter crust setting if available. Conversely, for a lighter crust, extend the cycle or choose a darker setting.
Ingredient amounts can also influence crust color; higher sugar content tends to darken the crust. Ensure accurate measurements.
Furthermore, ambient room temperature and the bread maker’s placement can affect baking. Experiment with settings to achieve your desired crust shade.
Paddle Stuck in Bread
A paddle stuck in your West Bend bread can occur due to several factors. Often, a slightly cooled loaf makes removal easier; avoid attempting immediately after baking. Gently use a non-stick utensil to loosen the paddle, working around its base.
Ensure the bread maker is unplugged before attempting removal.
Excessively wet dough or a large ingredient load can also cause sticking. Consider reducing liquid or ingredient quantities in future bakes. Thorough cleaning after each use prevents buildup and eases paddle removal.
Care and Maintenance
West Bend bread makers require regular cleaning; the pan should be washed after each use. Exterior surfaces can be wiped clean, and proper storage is key.
Cleaning the Bread Pan
After each baking cycle, promptly remove the bread pan from your West Bend bread maker. Allow the pan to cool completely before attempting to clean it, preventing potential burns. Wash the bread pan with warm, soapy water, ensuring all bread crumbs are removed.
Avoid using abrasive cleaners or scouring pads, as these can damage the non-stick coating. A soft sponge or cloth is recommended. Thoroughly rinse the pan and dry it completely before storing or using it again. Some models may have a removable kneading paddle; clean this separately with the same method.
Regular cleaning prevents buildup and ensures optimal performance and longevity of your bread maker’s essential component.
Cleaning the Exterior
To maintain the appearance and functionality of your West Bend bread maker, regularly clean the exterior surfaces. Always unplug the appliance and allow it to cool completely before cleaning. Use a soft, damp cloth to wipe down the housing, removing any spills or splatters.
Avoid using harsh chemicals, abrasive cleaners, or excessive water, as these can damage the finish. For stubborn stains, a mild dish soap solution can be used, followed by a clean, damp cloth to rinse. Ensure the area around the control panel is wiped carefully to prevent moisture from entering.
Proper exterior cleaning contributes to the longevity and aesthetic appeal of your bread maker.
Storage Instructions
When not in use, ensure your West Bend bread maker is completely cool, clean, and dry before storing. Store the appliance in a cool, dry place, away from direct sunlight and extreme temperatures. It’s best to store it in its original packaging, if available, to protect it from dust and potential damage.
Avoid storing anything on top of the bread maker, as this could cause damage to the housing or control panel. Keep the power cord neatly coiled and stored with the appliance. Proper storage will help maintain its condition and extend its lifespan.
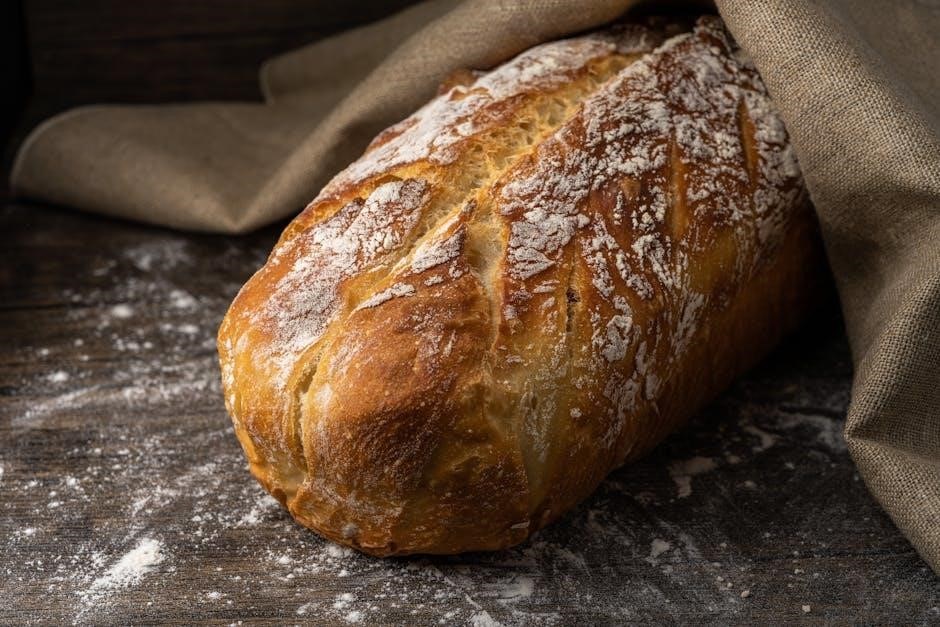
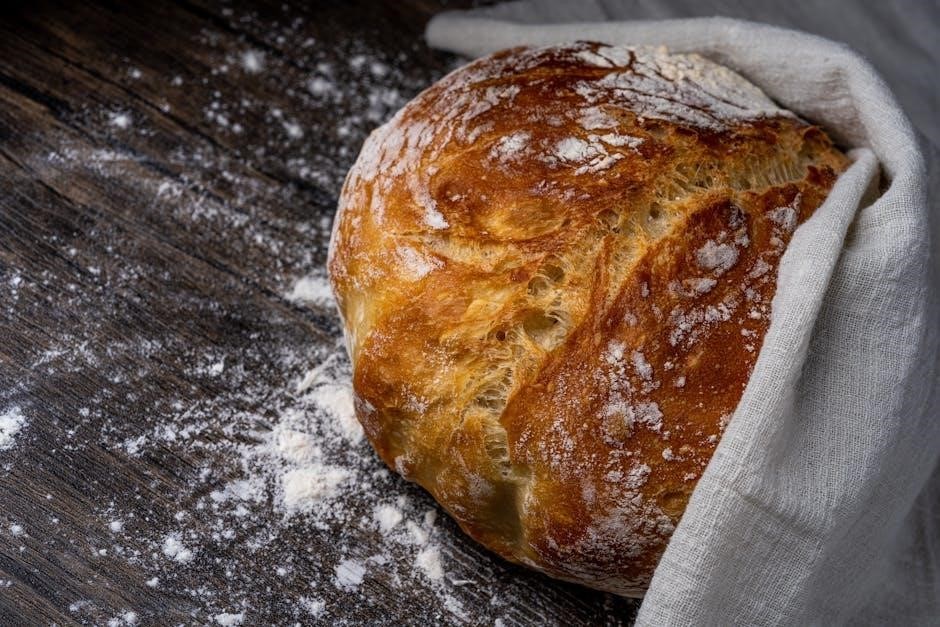
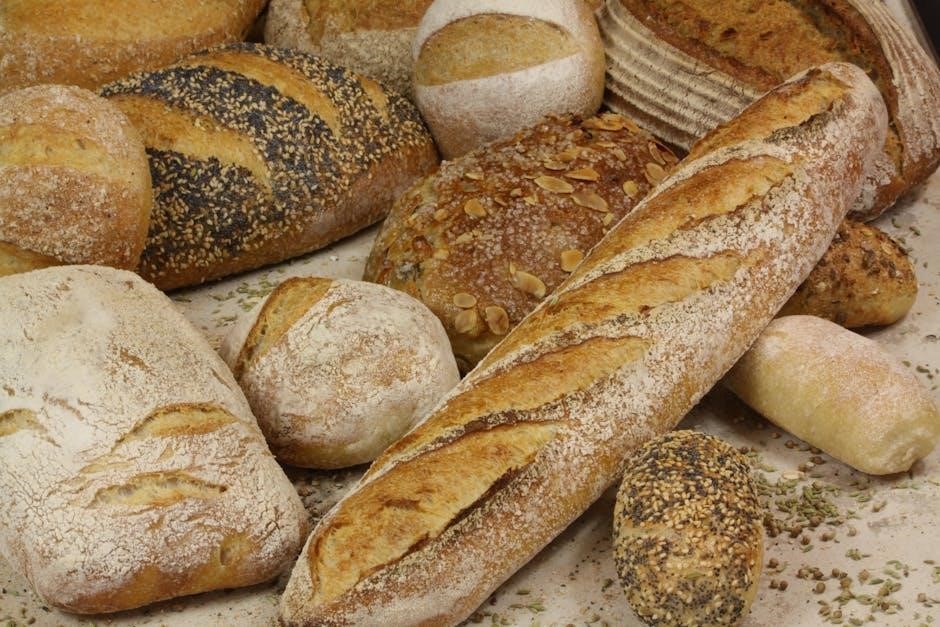
Recipes & Baking Tips
West Bend manuals and online resources offer recipes for white, whole wheat, and sweet breads, alongside essential baking tips for consistent results.
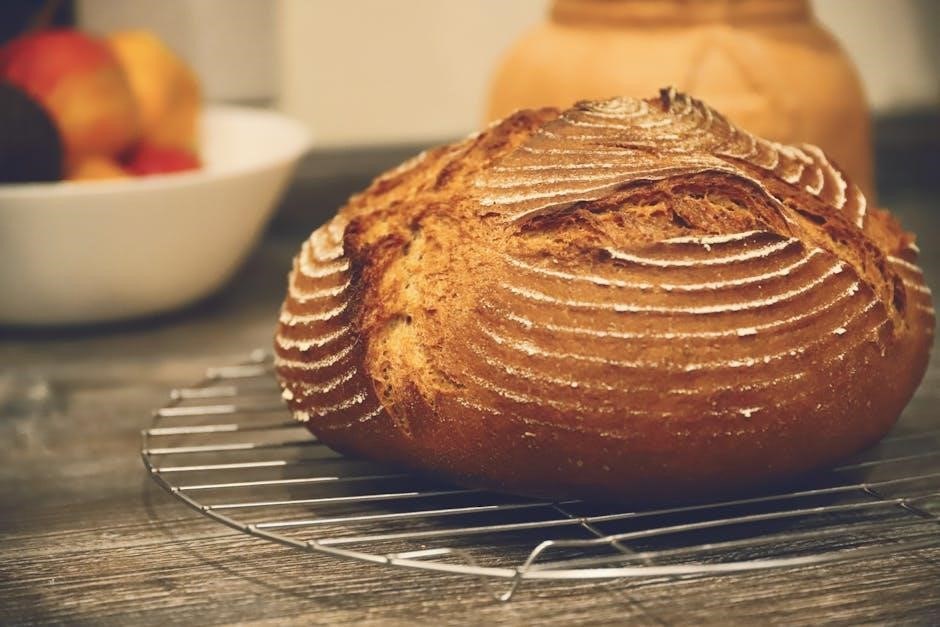
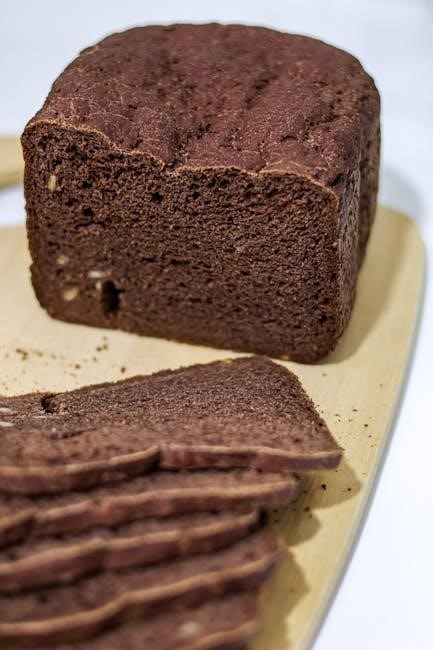
Basic White Bread Recipe
Yields: 1.5 lb loaf
Ingredients: 1 ¼ cups warm water (105-115°F), 2 tablespoons sugar, 2 ¼ teaspoons active dry yeast, 1 teaspoon salt, 3 ¼ cups bread flour, 2 tablespoons softened butter.
Instructions: Add ingredients to the West Bend bread maker pan in the order listed. Select the ‘Basic Bread’ cycle. Press start.
Monitor the initial mixing to ensure proper dough consistency; adjust water slightly if needed. Upon cycle completion, promptly remove the loaf and let cool completely on a wire rack before slicing and enjoying freshly baked bread.
Refer to your specific model’s manual for precise cycle times.
Whole Wheat Bread Recipe
Yields: 1.5 lb loaf
Ingredients: 1 ¼ cups warm water, 2 tablespoons honey, 2 ¼ teaspoons active dry yeast, 1 teaspoon salt, 2 cups whole wheat flour, 1 ¼ cups bread flour, 2 tablespoons softened butter or oil.
Instructions: Add ingredients to your West Bend bread machine pan in the order listed. Select the ‘Whole Wheat’ cycle. Press start.
Whole wheat flour absorbs more liquid, so observe the dough; add a tablespoon of water if too dry. Remove the loaf promptly after the cycle finishes and cool on a rack.
Consult your manual for specific cycle durations.
Sweet Bread Recipe
Yields: 1.5 lb loaf
Ingredients: 1 cup milk, ¼ cup sugar, 2 ¼ teaspoons active dry yeast, 1 teaspoon salt, 3 cups bread flour, ¼ cup softened butter, 2 eggs, ½ teaspoon vanilla extract. Optional: raisins or cinnamon.
Instructions: Add ingredients to your West Bend bread machine pan in the order listed. Select the ‘Sweet’ or ‘Basic’ cycle, depending on your model.
Monitor dough consistency; add a tablespoon of flour if overly sticky. Enjoy warm with butter or as French toast! Refer to your machine’s manual for cycle times.

Safety Precautions
Always read the West Bend manual before use to prevent injury or damage. Electrical safety and avoiding burns are crucial during operation.
Electrical Safety
West Bend bread makers, being electrical appliances, necessitate strict adherence to safety protocols. Always ensure the appliance is properly grounded and the voltage matches your household supply.
Never operate the bread maker with a damaged cord or plug; immediate replacement is crucial. Avoid immersing the appliance, cord, or plug in water or other liquids to prevent electric shock.
Unplug the bread maker from the outlet when not in use, before cleaning, and during maintenance. Do not use extension cords unless absolutely necessary, and then only with appropriate amperage ratings.
Regularly inspect the cord for any signs of damage and discontinue use if any are found. Following these precautions will minimize the risk of electrical hazards.
Avoiding Burns
West Bend bread makers generate significant heat during operation, presenting a burn risk. Always use oven mitts or pot holders when handling the bread pan, lid, or any internal components immediately after or during the baking cycle.
Avoid touching the heating elements directly, as they reach extremely high temperatures. Exercise caution when opening the lid during operation, as escaping steam can cause scalding.
Allow the bread maker to cool completely before cleaning or storing. Keep children and pets away from the appliance during operation and cooling periods.
Be mindful of the hot bread and carefully remove it from the pan after baking to prevent burns.
Proper Usage Guidelines
West Bend bread makers require careful adherence to instructions for safe and effective operation. Always register your product on the West Bend website (www.westbend.com) for updates and support.
Ensure the appliance is placed on a stable, heat-resistant surface away from flammable materials. Use only ingredients specified in the recipe, and measure them accurately.
Never immerse the appliance in water or operate with a damaged cord. Do not attempt to repair the bread maker yourself; seek professional assistance.
Follow recipe timings and cycle selections precisely for best results.